DIY Stall Building
Key Takeaways
- Understanding stall dimensions is crucial for horse comfort.
- Choosing the right materials enhances durability and safety.
- Proper ventilation is essential for a healthy environment.
- DIY projects can save money while allowing for customization.
- Regular maintenance ensures longevity of your stalls.
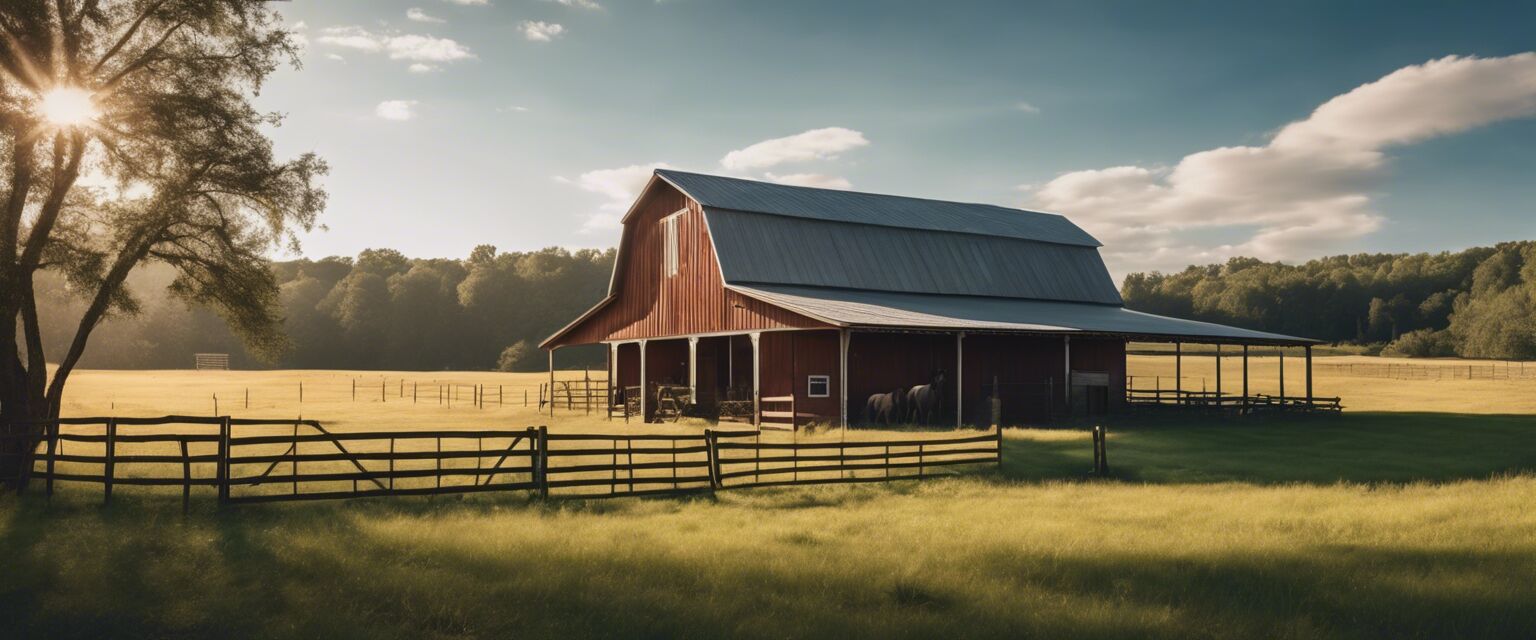
Building a horse stall can be a rewarding DIY project that allows you to tailor the environment for your equine friends. From selecting the right materials to understanding the best practices for construction and maintenance, this guide will help you create stalls that are both functional and comfortable. Letâs dive into the essentials of DIY stall building!
Planning Your Stall Design
Before you start building, itâs important to plan your stall design carefully. Consider the following factors:
- Size of the stall
- Type of flooring
- Ventilation needs
- Accessibility for feeding and cleaning
- Safety features
Stall Dimensions
The standard size for a horse stall is typically 12' x 12', but this can vary based on the size of your horse. Below is a quick reference table for stall sizes based on horse height:
| Horse Height | Recommended Stall Size |
|---|---|
| Under 14.2 hands | 10' x 10' |
| 14.2 - 15.2 hands | 12' x 12' |
| Over 15.2 hands | 12' x 14' |
Choosing Materials
Selecting the right materials is crucial for the durability and safety of your stalls. Here are some common materials you might consider:
- Pressure-treated wood for framing
- Plywood or metal sheets for walls
- Rubber mats for flooring
- Durable hinges and latches for doors
Recommended Materials Comparison
| Material | Durability | Cost | Maintenance |
|---|---|---|---|
| Wood | Moderate | Low | High |
| Metal | High | Medium | Low |
| Plywood | Moderate | Medium | Moderate |
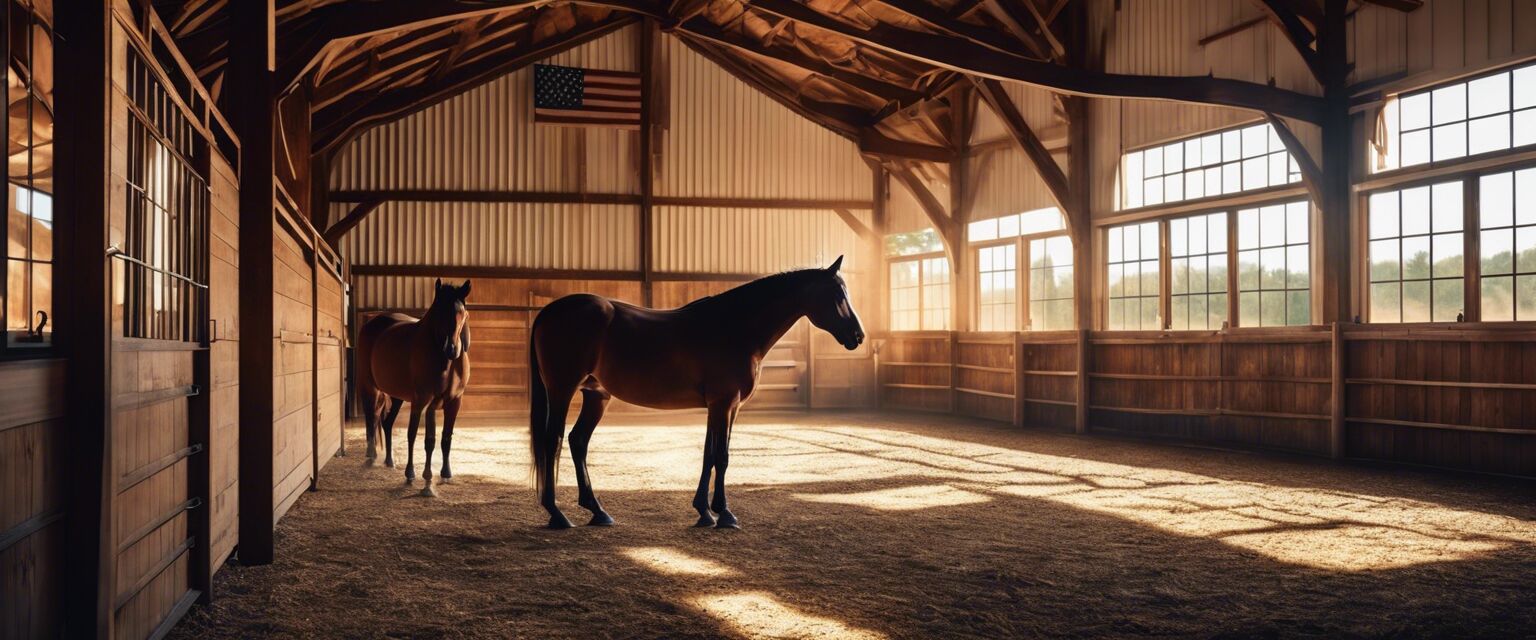
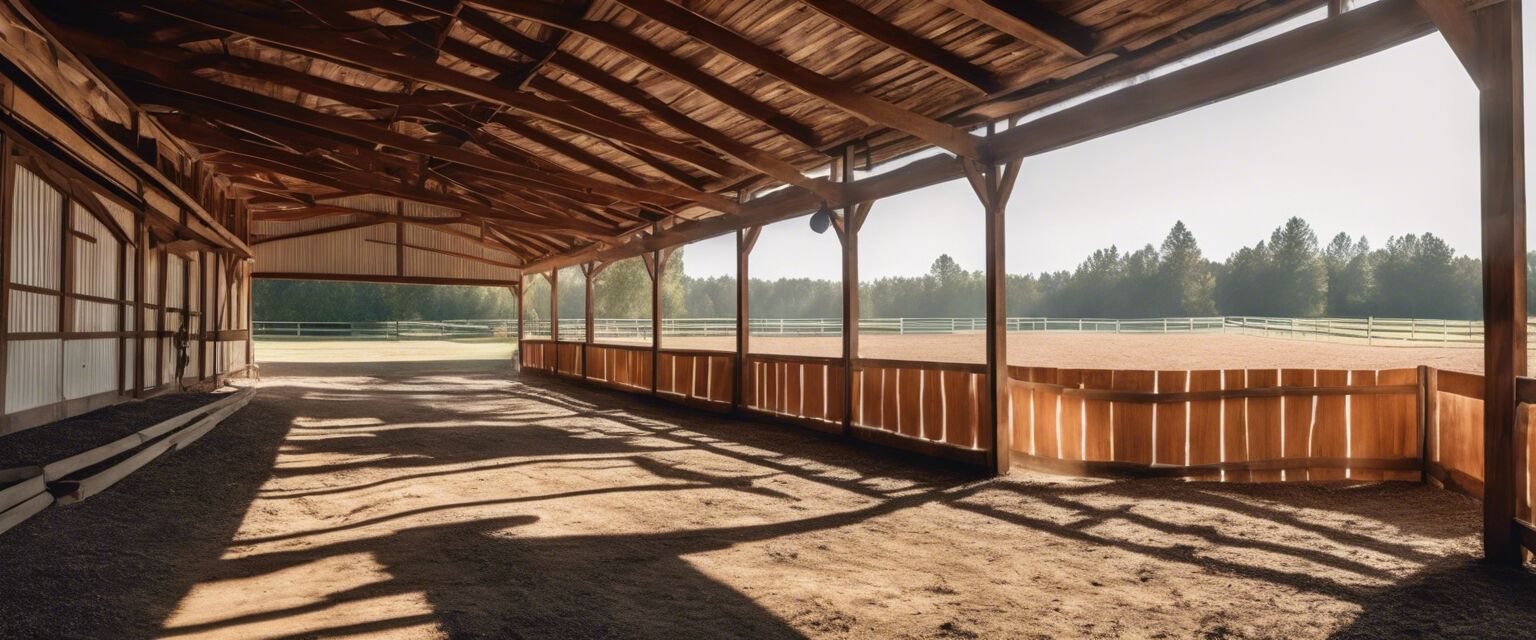
Ventilation and Lighting
Good ventilation is essential in a horse stall to prevent respiratory issues and maintain a healthy environment. Here are some tips for ensuring proper airflow:
- Install windows that can open to create natural airflow.
- Consider adding vents near the top of the walls.
- Ensure that your stalls are well-lit, preferably using natural light.
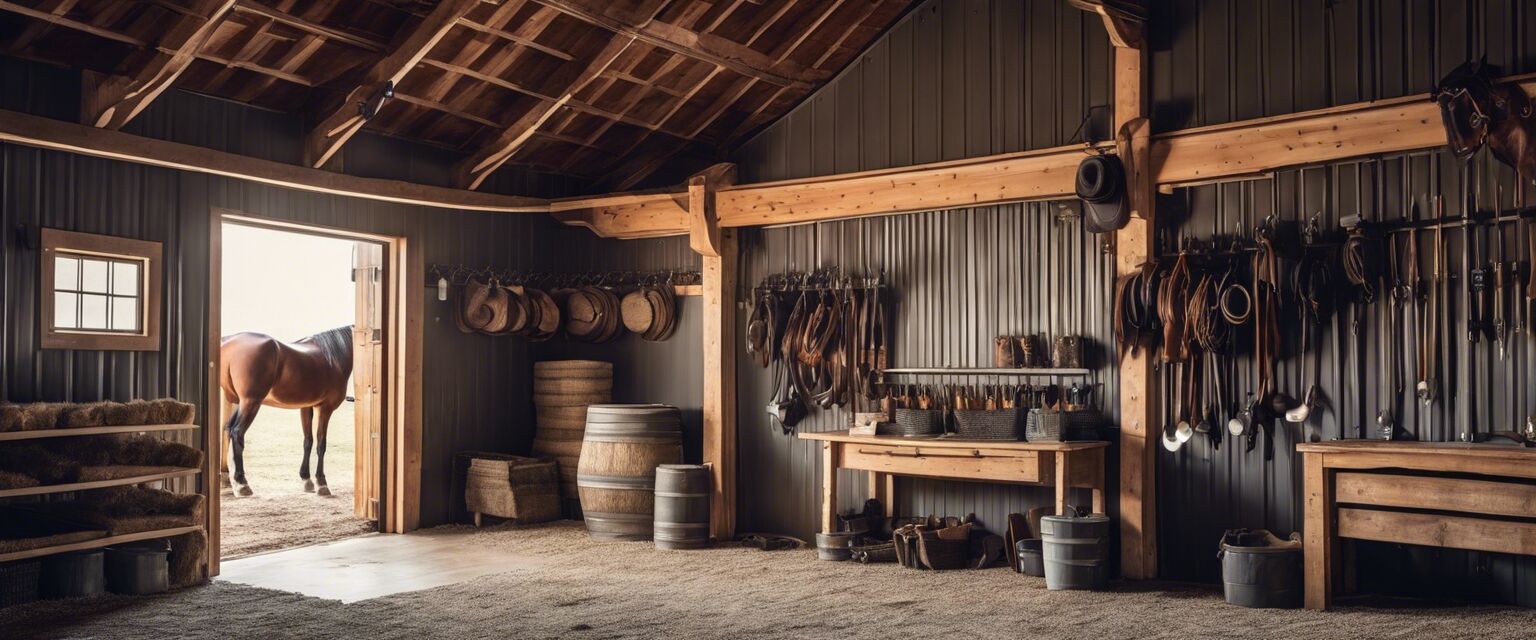
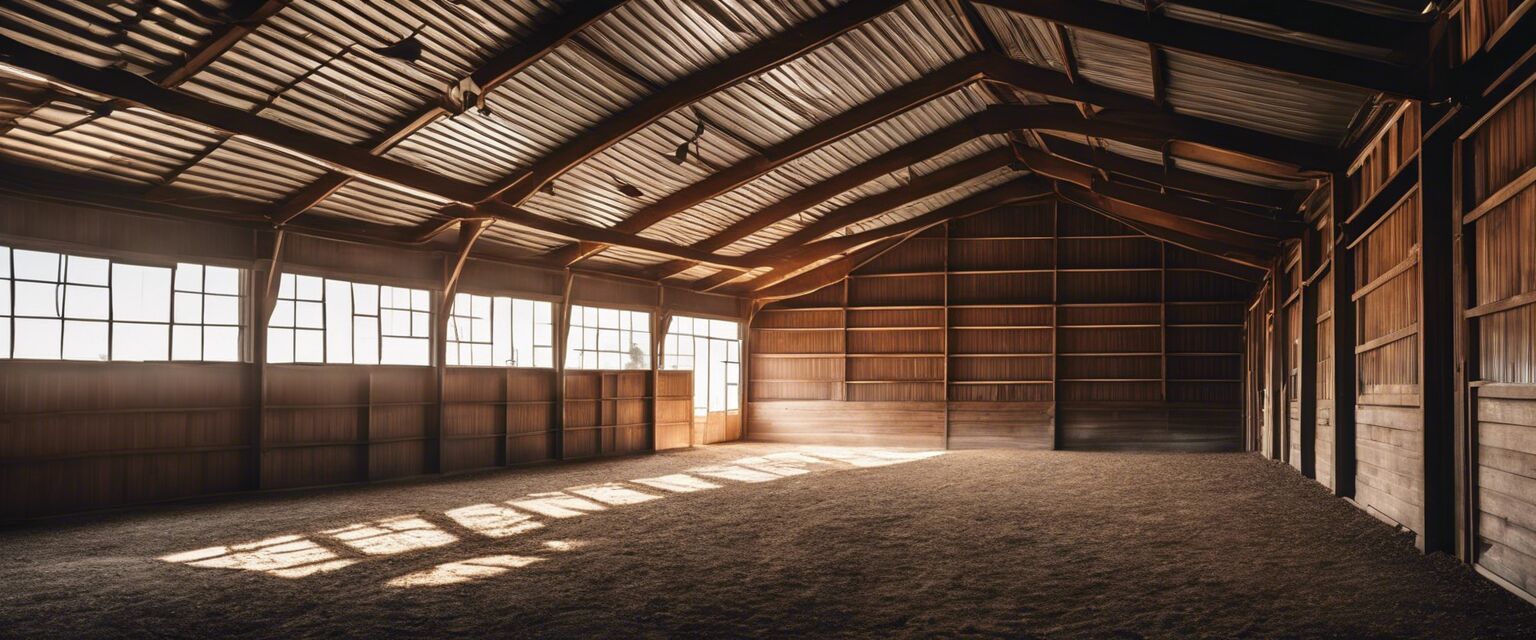
Image Inspiration for Stall Design

Building Process
Now, letâs break down the steps involved in building your DIY horse stall:
- Lay out the foundation and frame the stall.
- Install the walls and ensure they are secure.
- Add the flooring, ensuring it is level and safe.
- Install doors, latches, and other hardware.
- Finish with any additional features such as feeders or waterers.
Maintenance Tips
To keep your horse stalls in great condition, regular maintenance is essential. Here are some tips:
- Inspect for any damages or wear regularly.
- Clean the stalls daily to prevent bacteria buildup.
- Replace bedding regularly for comfort.
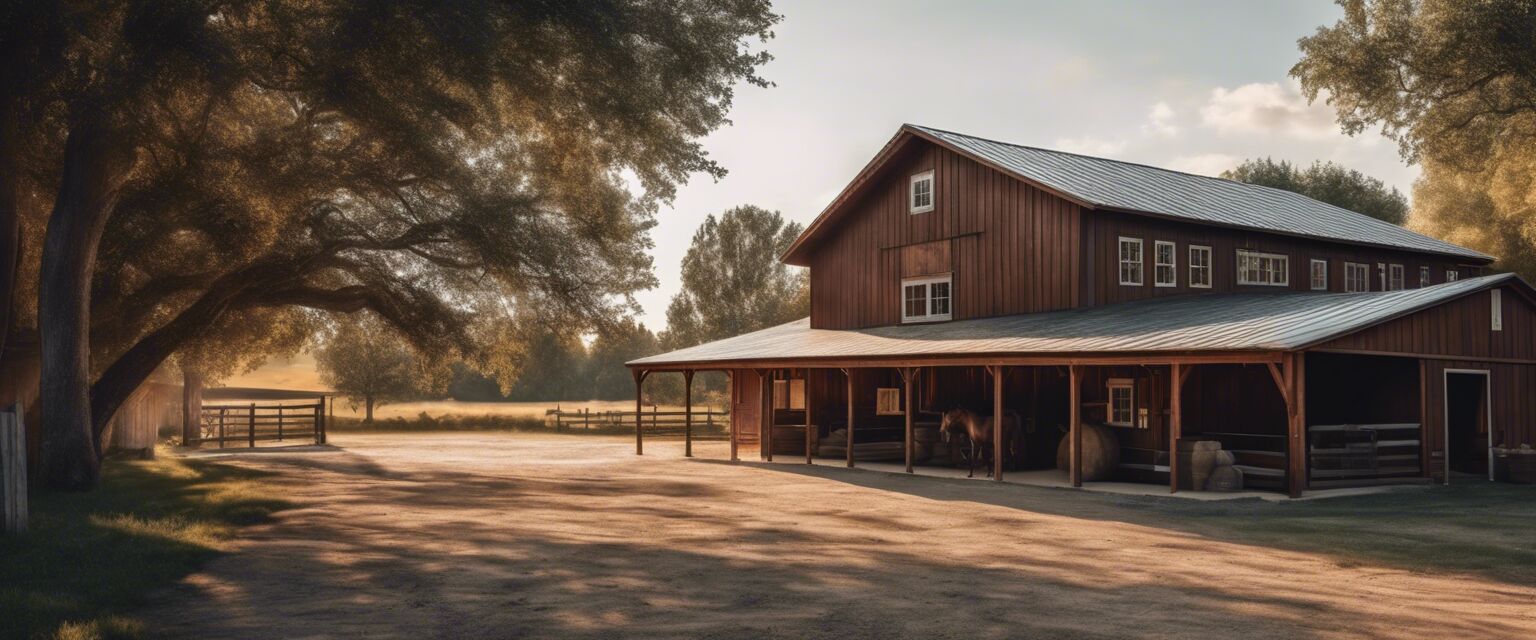
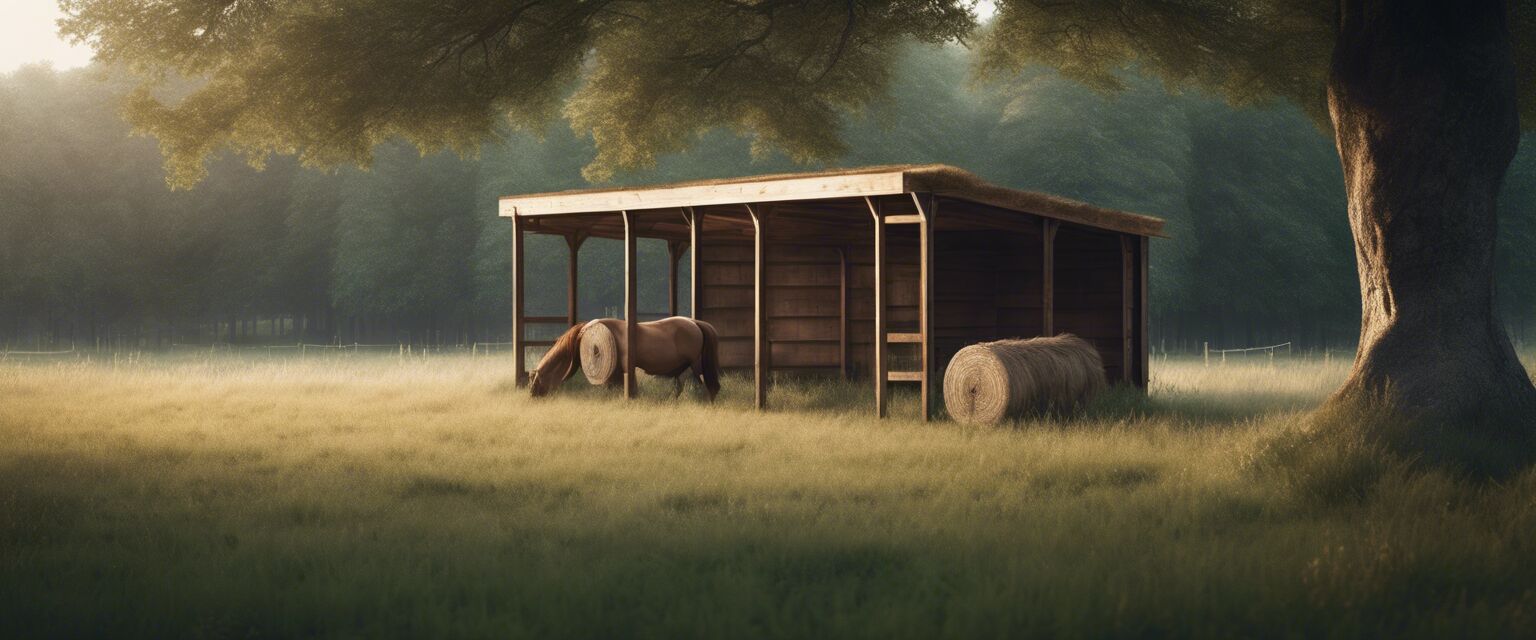
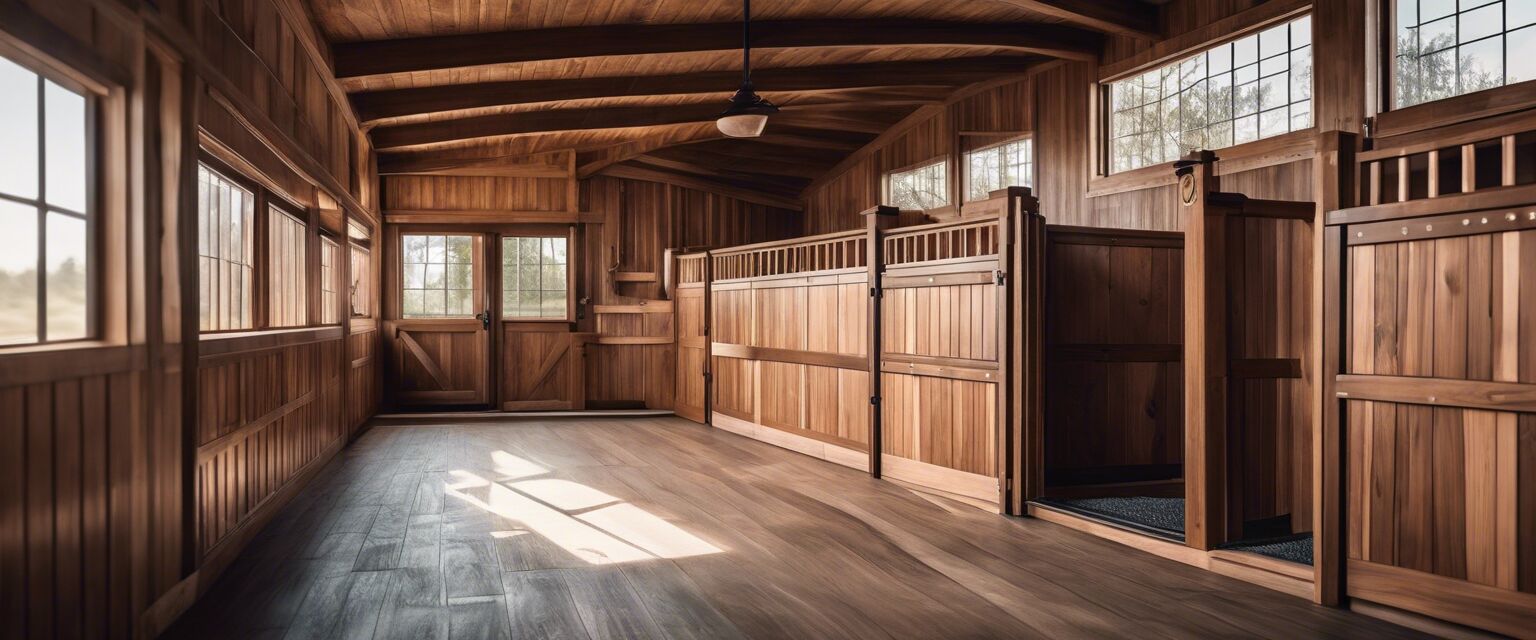
Image of a Well-Maintained Stall

Useful Tools for DIY Stall Building
Having the right tools can make your stall building project easier and more efficient. Consider the following:
- Power drill
- Measuring tape
- Level
- Saw (circular or miter)
- Hammer
Conclusion
Building your own horse stall can be a fulfilling project that not only saves money but also allows you to create a customized space that meets the needs of your horses. With careful planning, the right materials, and ongoing maintenance, your DIY stall can provide a safe and comfortable environment for your equine friends.
Tips for Beginners
- Start with a small project to gain confidence.
- Consult with experienced builders or online resources.
- Donât rush the process; take your time to get it right.
Additional Resources
For more information on materials and tools, check out these helpful links:
- Barn building materials
- Stable equipment
- Barn décor and comfort
- Barn safety and security
- Feeding solutions
Final Thoughts
Remember, the key to a successful DIY stall building project lies in planning, making informed decisions, and maintaining the space for your horses. Happy building!